Electa Live allows customizing the automatic messages that are sent to users when certain events occur. These include invitation emails, emails sent at registration time, reminders and others.
For each event that triggers email message there is one stand-rad template. Administrator users can modify the standard templates and create their own ones. To access the email templates you have to be logged in with administrator credentials then click on Account Settings -> Email Templates.
All events that trigger an email message are listed in a drop-down list. Select the event that you wish to modify and the current email template will be displayed.
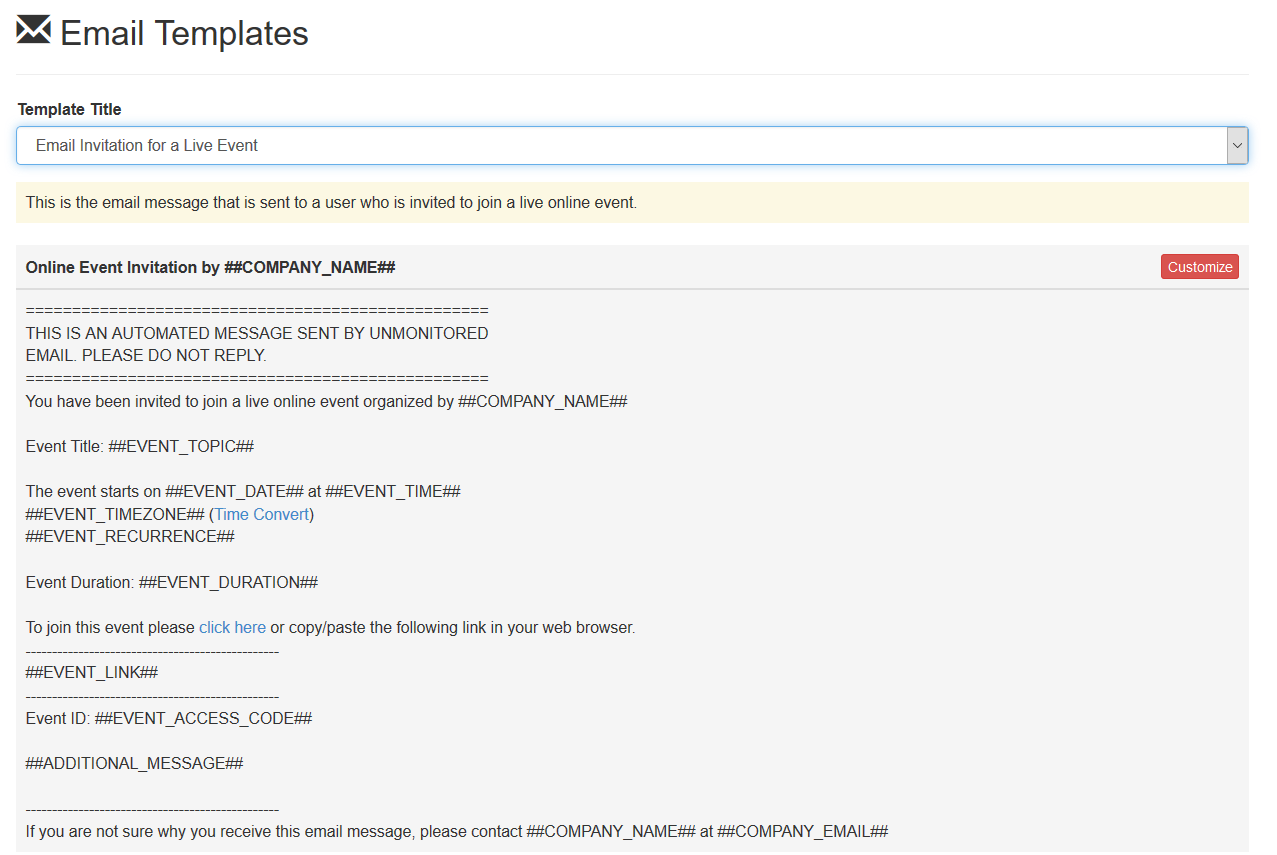
Click the Customize button to create your own template. An editable page opens pre-loaded with the current email template, where you can create your own one.
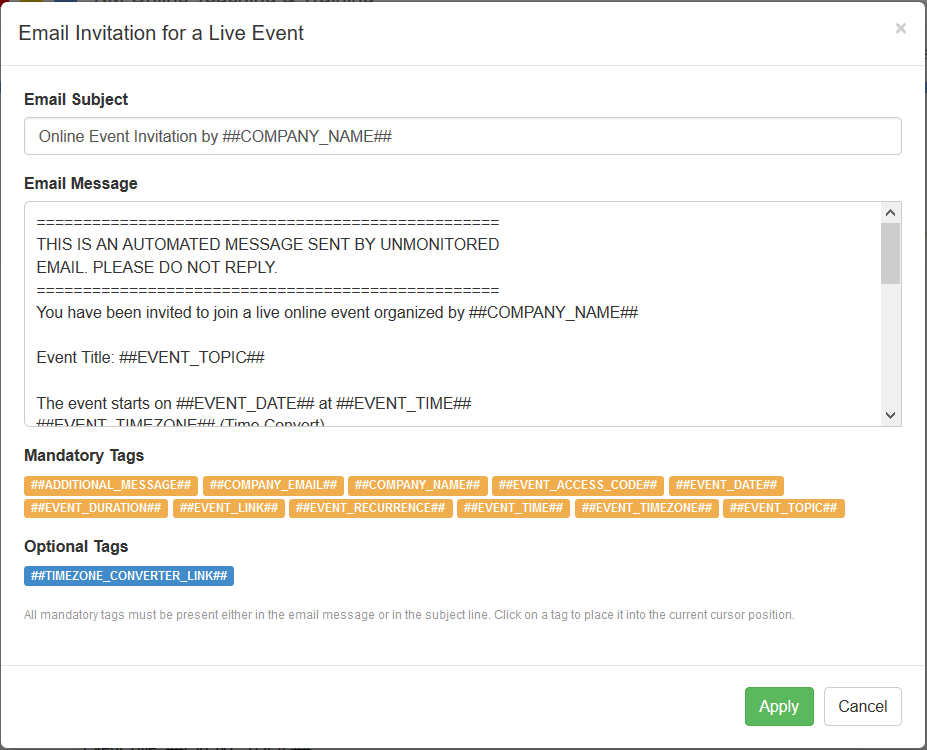
Each template consists of a Subject Line (the email message subject) and a body (the actual email message). The template contains some static text - your actual message and tags.
Tags are special place holders which are automatically substituted with some system information - like, for instance, the name of the student, the title of a course, time zones, company information and so on.
All tags are listed below the editable area. There are mandatory tags that must be present in your custom message and optional tags which you may decide to omit. To insert a tag in your email message or subject line position the cursor on the place you would like the tag added into and then click the tag.
Make sure to format your message correctly. It is recommended to allow a space before and after each tag so that no texts are concatenated.
For instance, a template that looks like:
Dear ##USER_FULL_NAME##, thanks for registering for our online course.
When substituted with real values will look like this:
Dear John Smith, thanks for registering for our online course.
So if you leave no space before ##USER_FULL_NAME## like that:
Dear##USER_FULL_NAME##, thanks for registering for our online course.
you will end up with an email message like this:
DearJohn Smith, thanks for registering for our online course.
HTML Formatting is available through the template editor. To save your template click Apply.
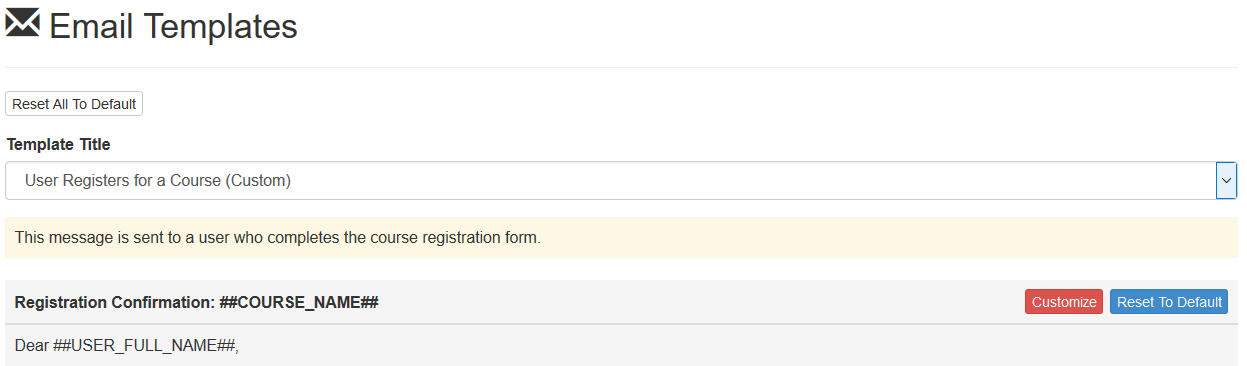
All custom templates appear in the drop-down list with (custom) after their name.
To restore a custom template to its default click the Reset to Default button. To restore all email templates to their defaults click the top-level button Restore All to Default.
Finally, just to mention that, there is no restriction to have your custom templates in a language at your choice.
Video Guide