This article explains how to create and manage student profiles.
To setup a new student profile click on Student Management -> Add New Profile and a new user profile form will be opened. To create a new student profile you need to fill in a few sections of information. As follows:
General Profile Details
The first section to fill in are the student name, email address and username/password.
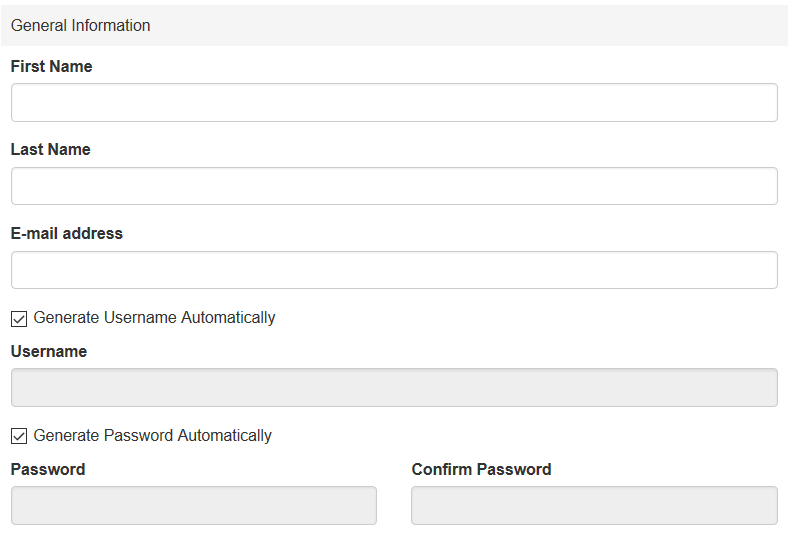
You may choose to automatically generate the profile username/password automatically or create them by yourself. By default you must also provide a unique email address.
Sometimes you may wish to have several users registered with the same email address. This is the case when family members have different profiles but share the same email address. Please read how to Enable Different User profiles to Share The Same Email Address.
Advanced Profile Details
The next section to fill in is the Advanced (or additional ) student profile details. These details are not required. You can specify address/contact information and time zone. If no time zone is provided your account time zone will be used by default. Every user may change his time zone after they log into the account. All dates and times are displayed in the respective timezone set on the student profile.
User Group and Access Options
You may place the newly created student into one or more groups upon creation. You can do so by choosing a group from the Group drop-down. If you do not select a group at this time you may do it later from the user profiles menu. See how to manage student groups.
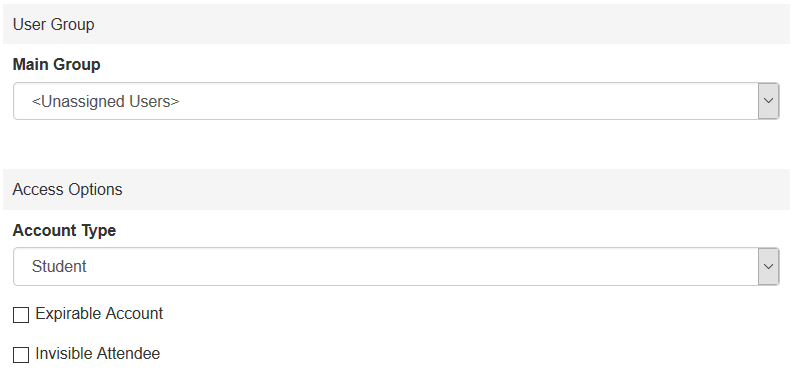
As this is a general for for creating users (not just students) you may select a different profile type - teacher-admin or teacher-moderator. This is only available for multiple teacher configurations.
For each user profile you may specify an expiry date by selecting an "Expirable Account". If you do so you will be promoted to select the profile expiry date. After that date the user will not be able to log into the profile.
The final option is to make this account "Invisible" in your live sessions. Read more about Invisible Attendees.
Video Guide
Optionally provide private feedback to help us improve this article...
Thank you for your feedback!